


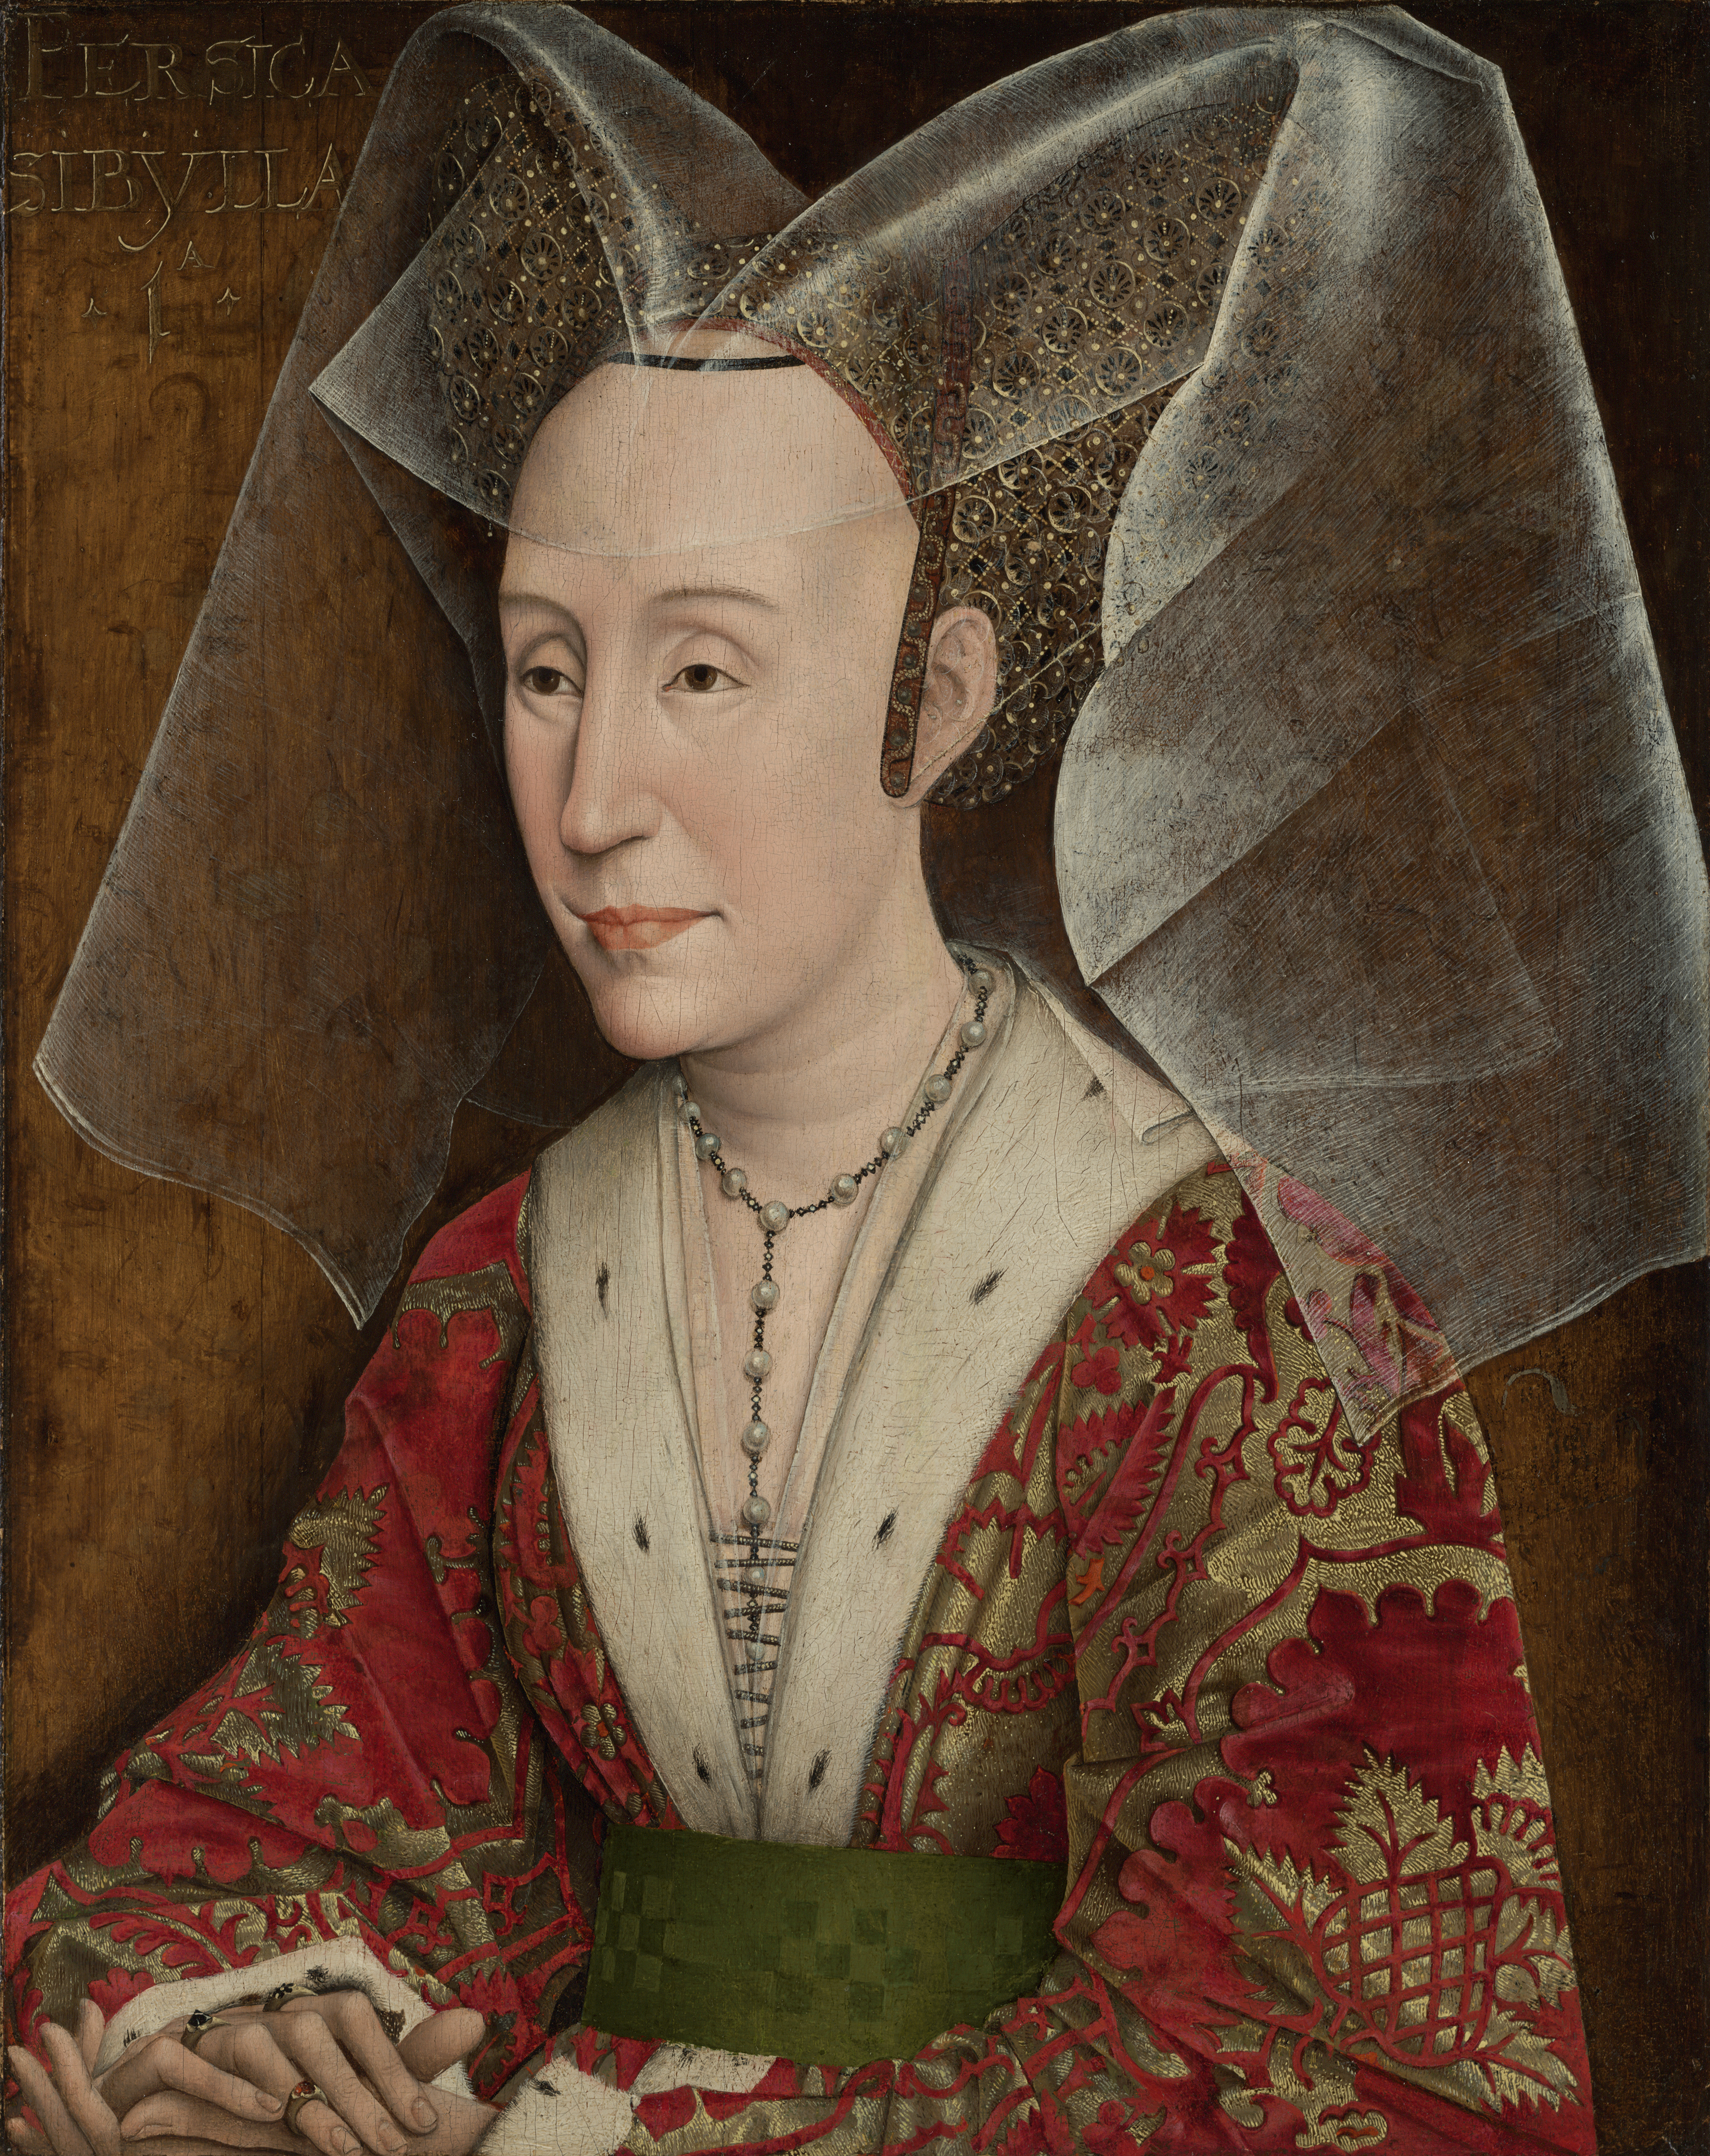
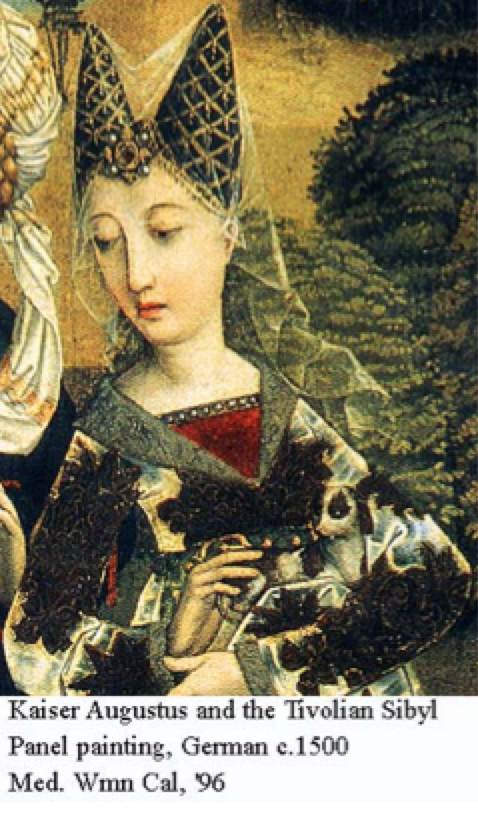
This year for the Ren Faire I was determined to make my own medieval hennin. Specifically, I wanted to created a divided or double horned hennin. This style of hat was popular among upperclass european women in the 1400-1500s. The exact style often varied, some were single cones, some inverted, most featuring a veil element. What I really wanted to create was the double-horned look, with a little veil for fun.

You might be surprised, like me, to discover that there's not a lot of tutorials on building a divided hennin out there! I found a couple of blog posts of people who created their own, but I couldn't really find any pattern anywhere. SO. I went on a journey to create everything from scratch!
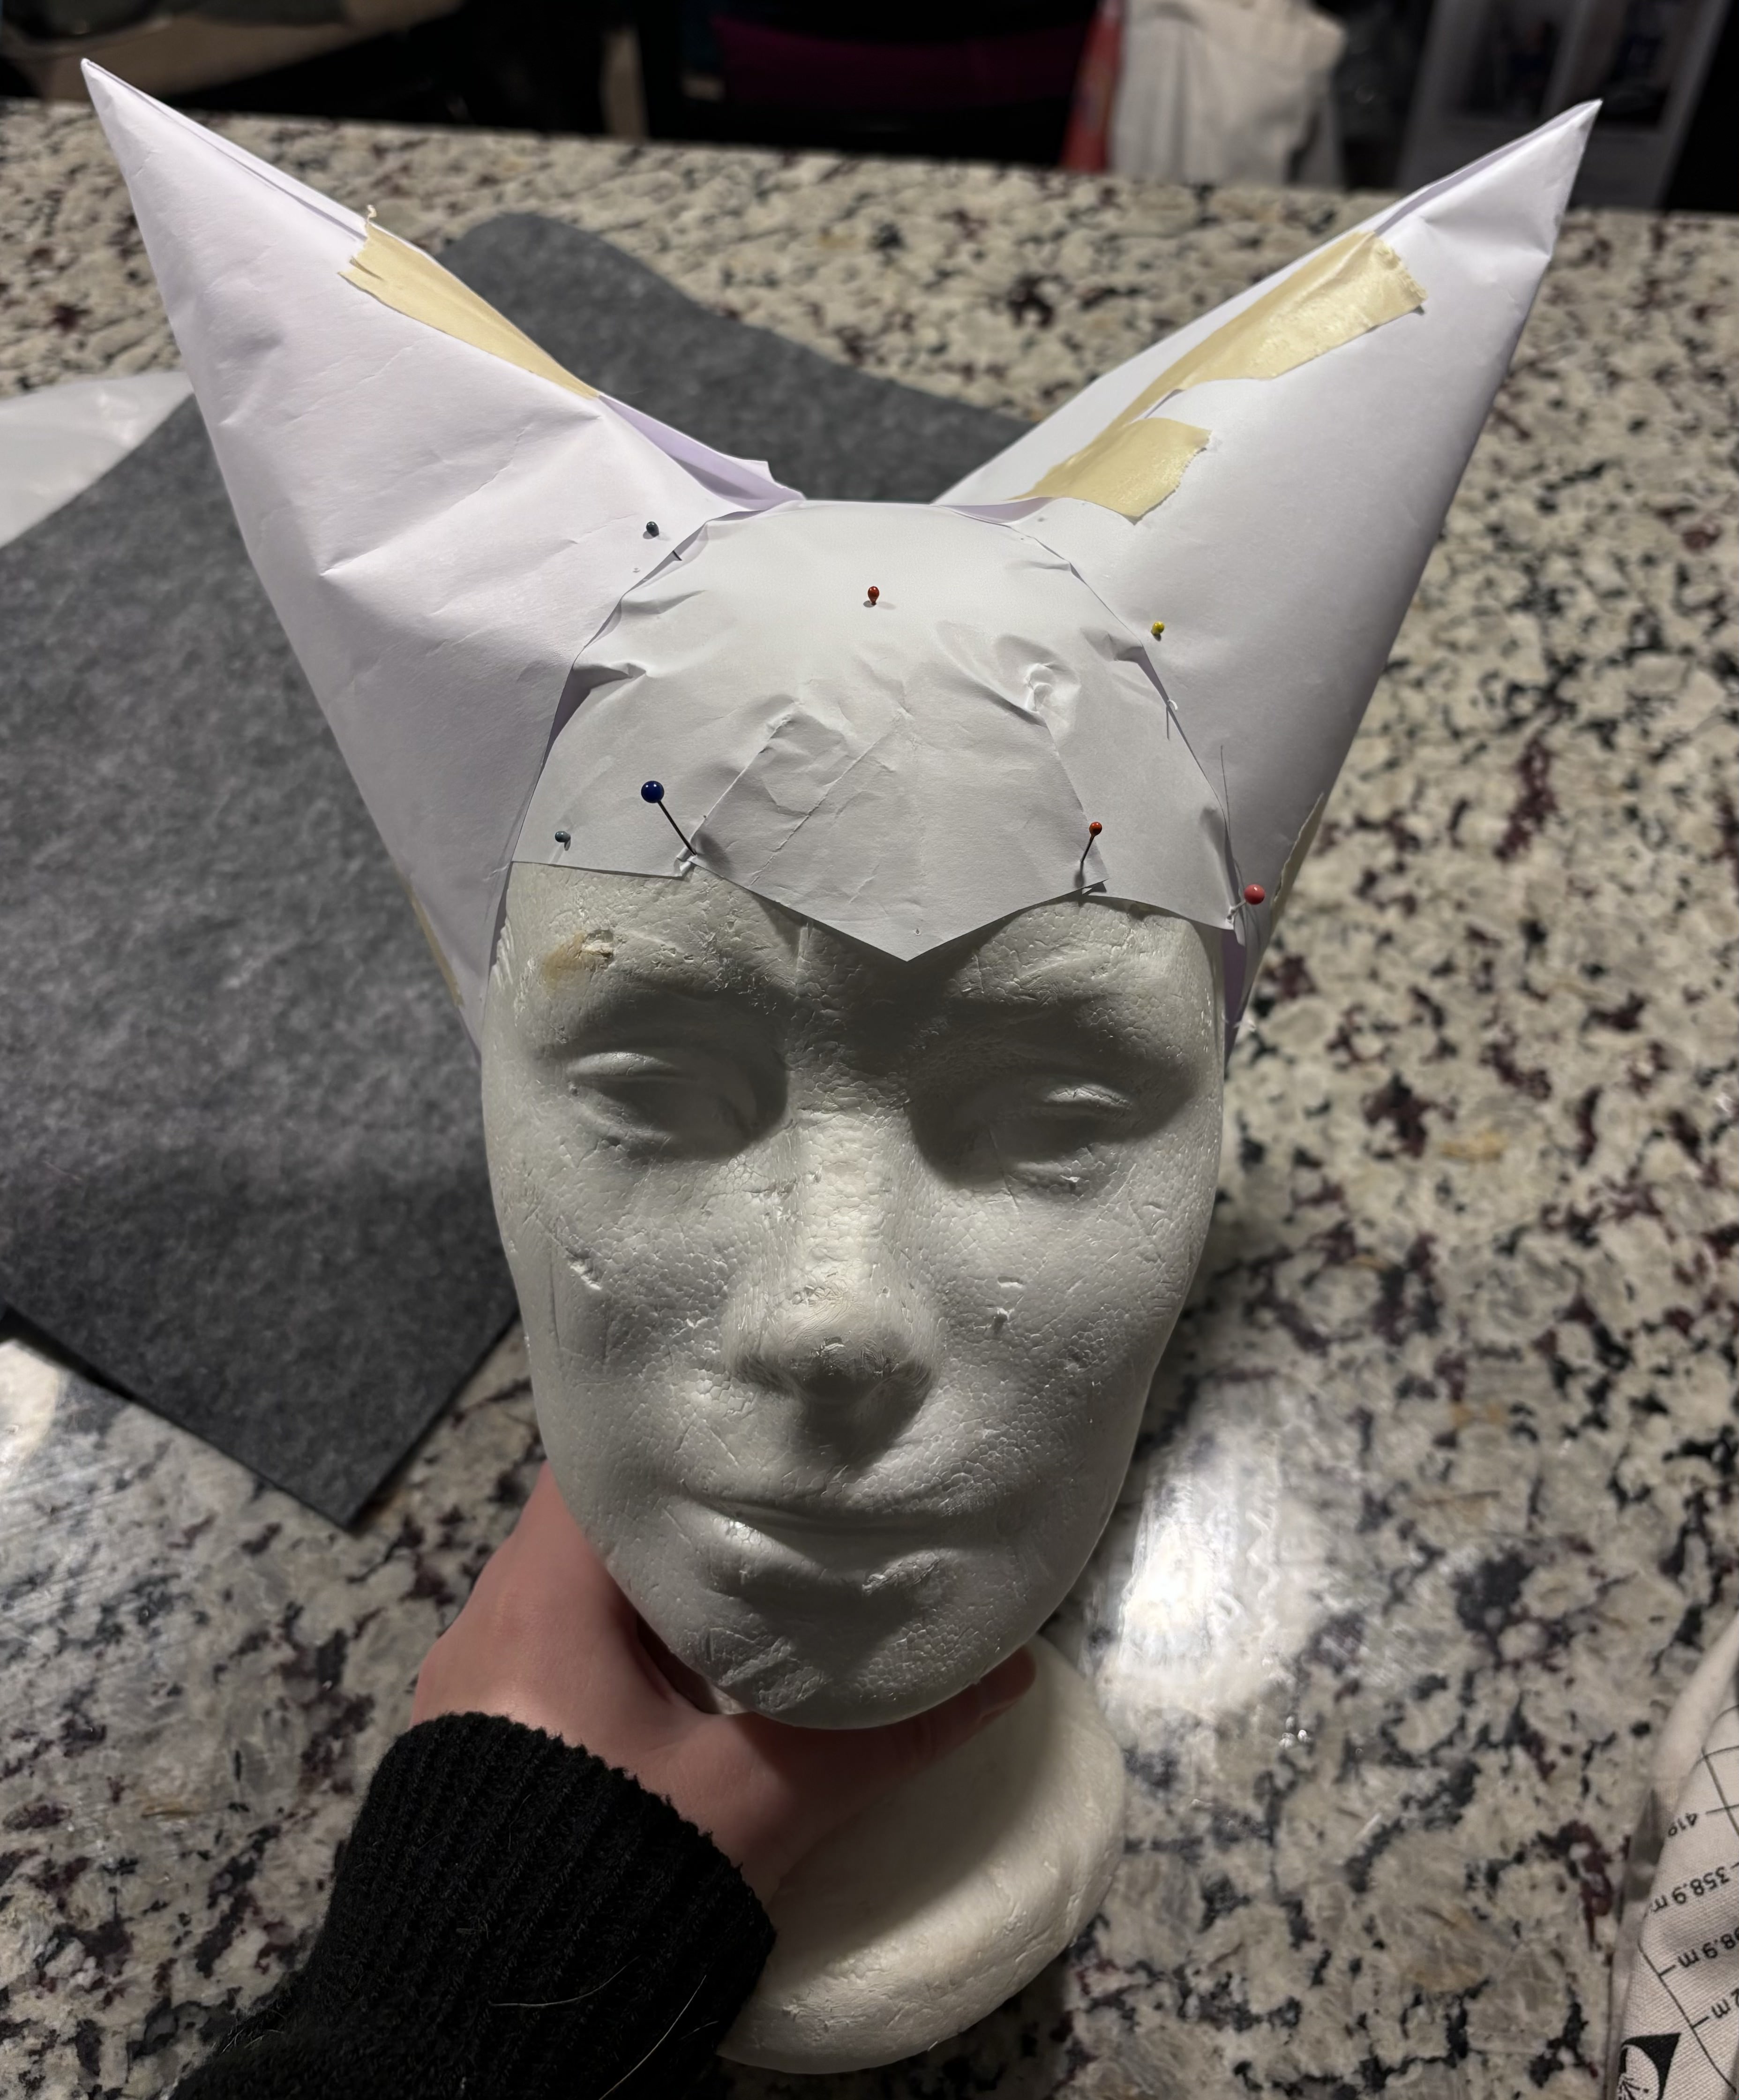
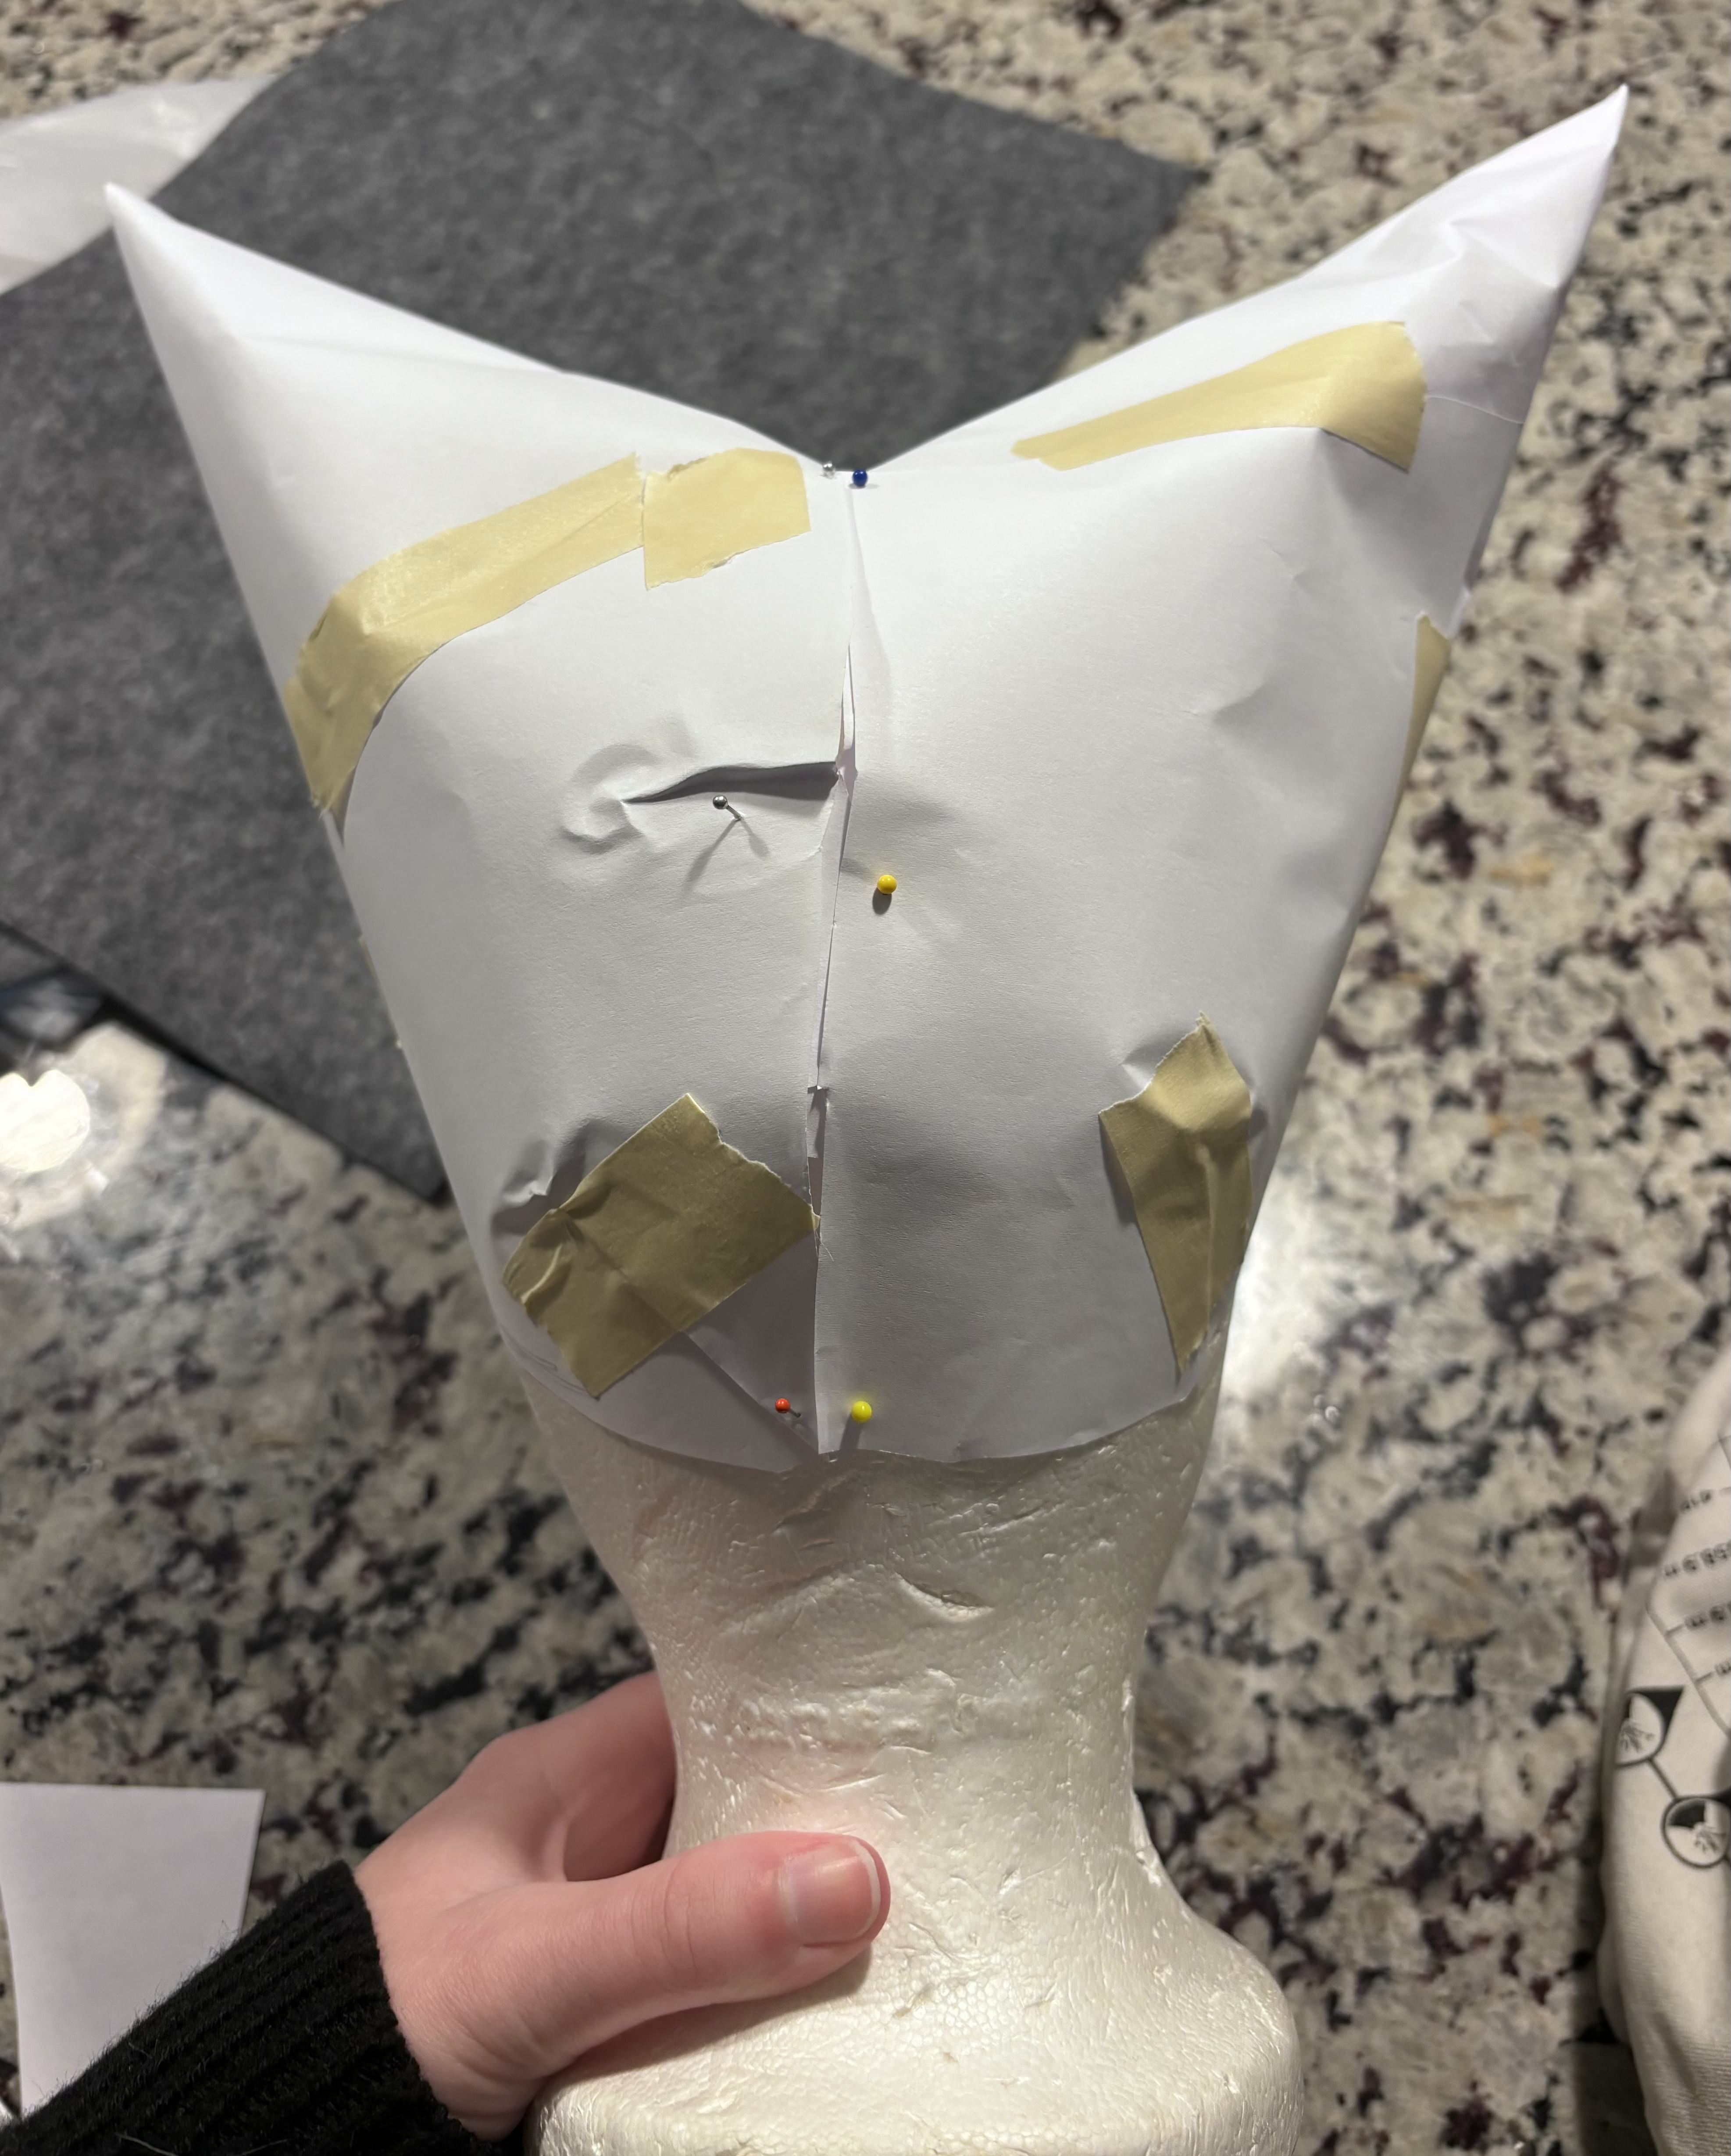
Shortly after I decided I wanted to create a hennin, I decided that I'd need to get a styrofoam head and pin things to it. Miraculously, I found one almost instantly at an estate sale! Thank you lady who had many, many, hats.
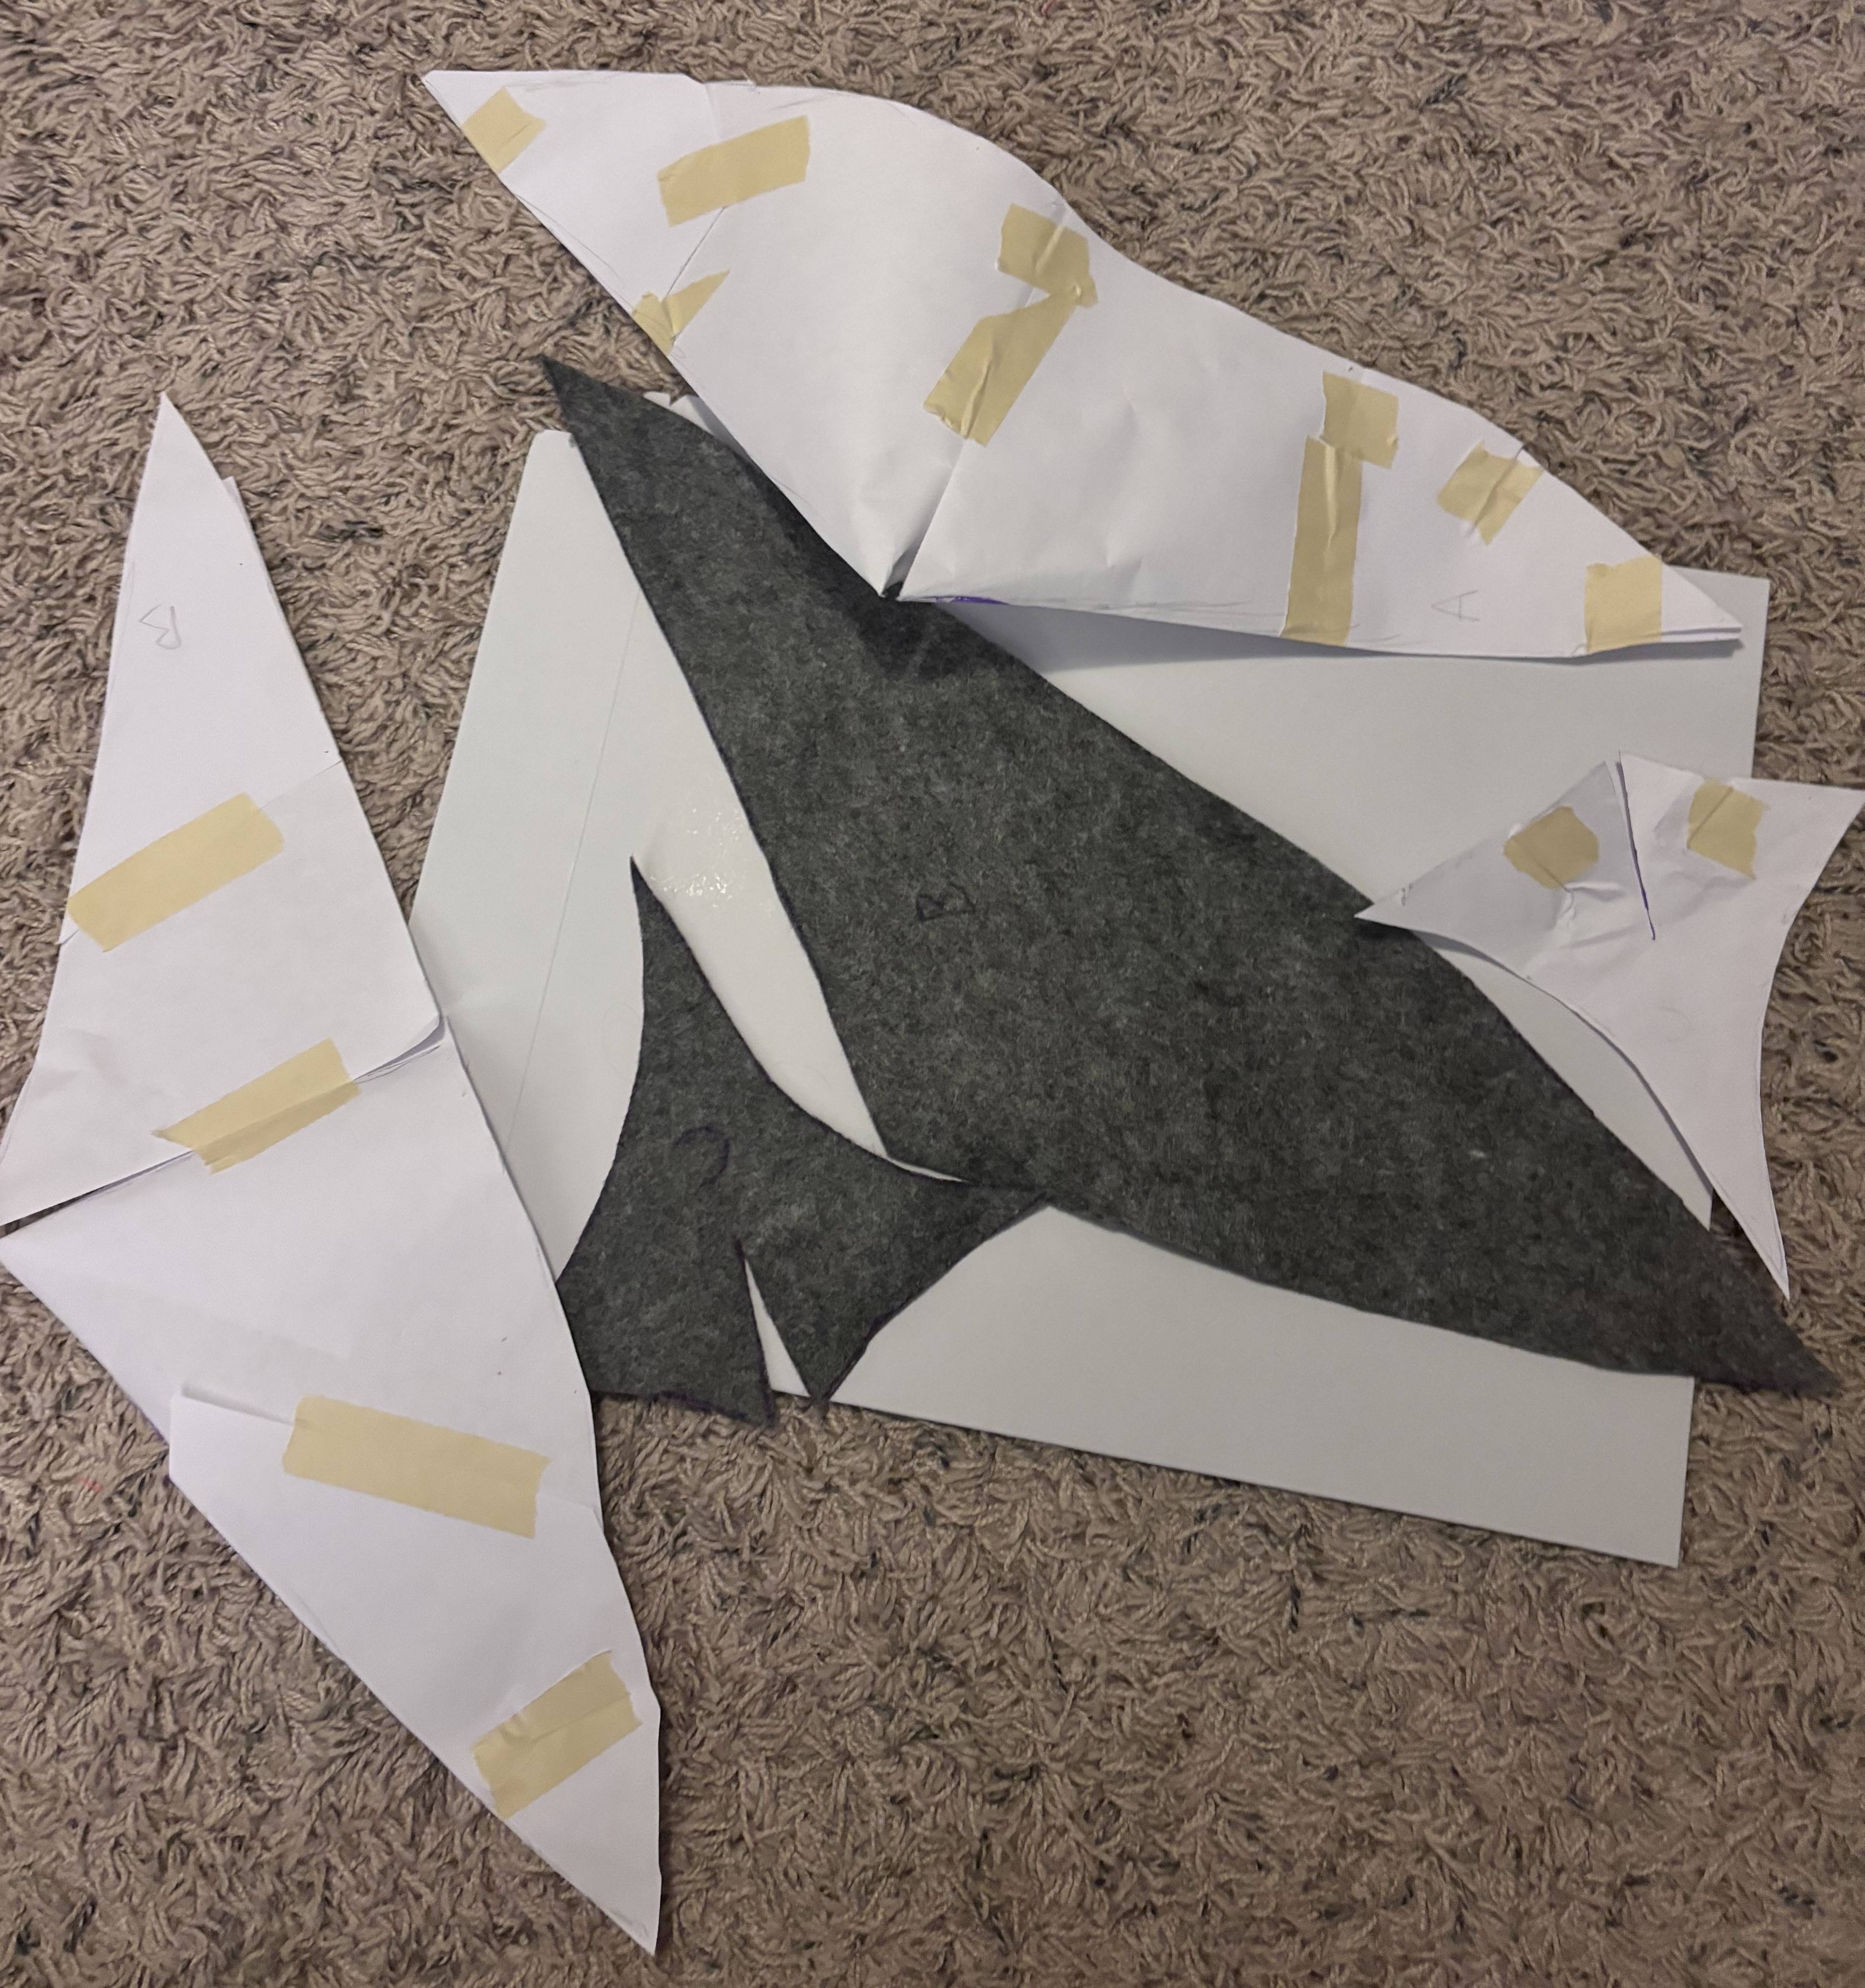
Then I got to pinning! honestly, I had no idea what I was doing, but I was doing something! Eventually, I managed to get a pretty good shape going.
After I got the shape down, I cut the paper pattern into there different sections. Then I traced the pattern onto gray felt, & cut myself some shapes.
Once I had the felt ready, I got to sewing! I didn't want to have bumpy seams, so I learned to do a catch stitch! Not too bad for a first attempt, and it really seemed like it worked well for the project. I was also pleasently surrpsied by how well the felt was holding it's shape!
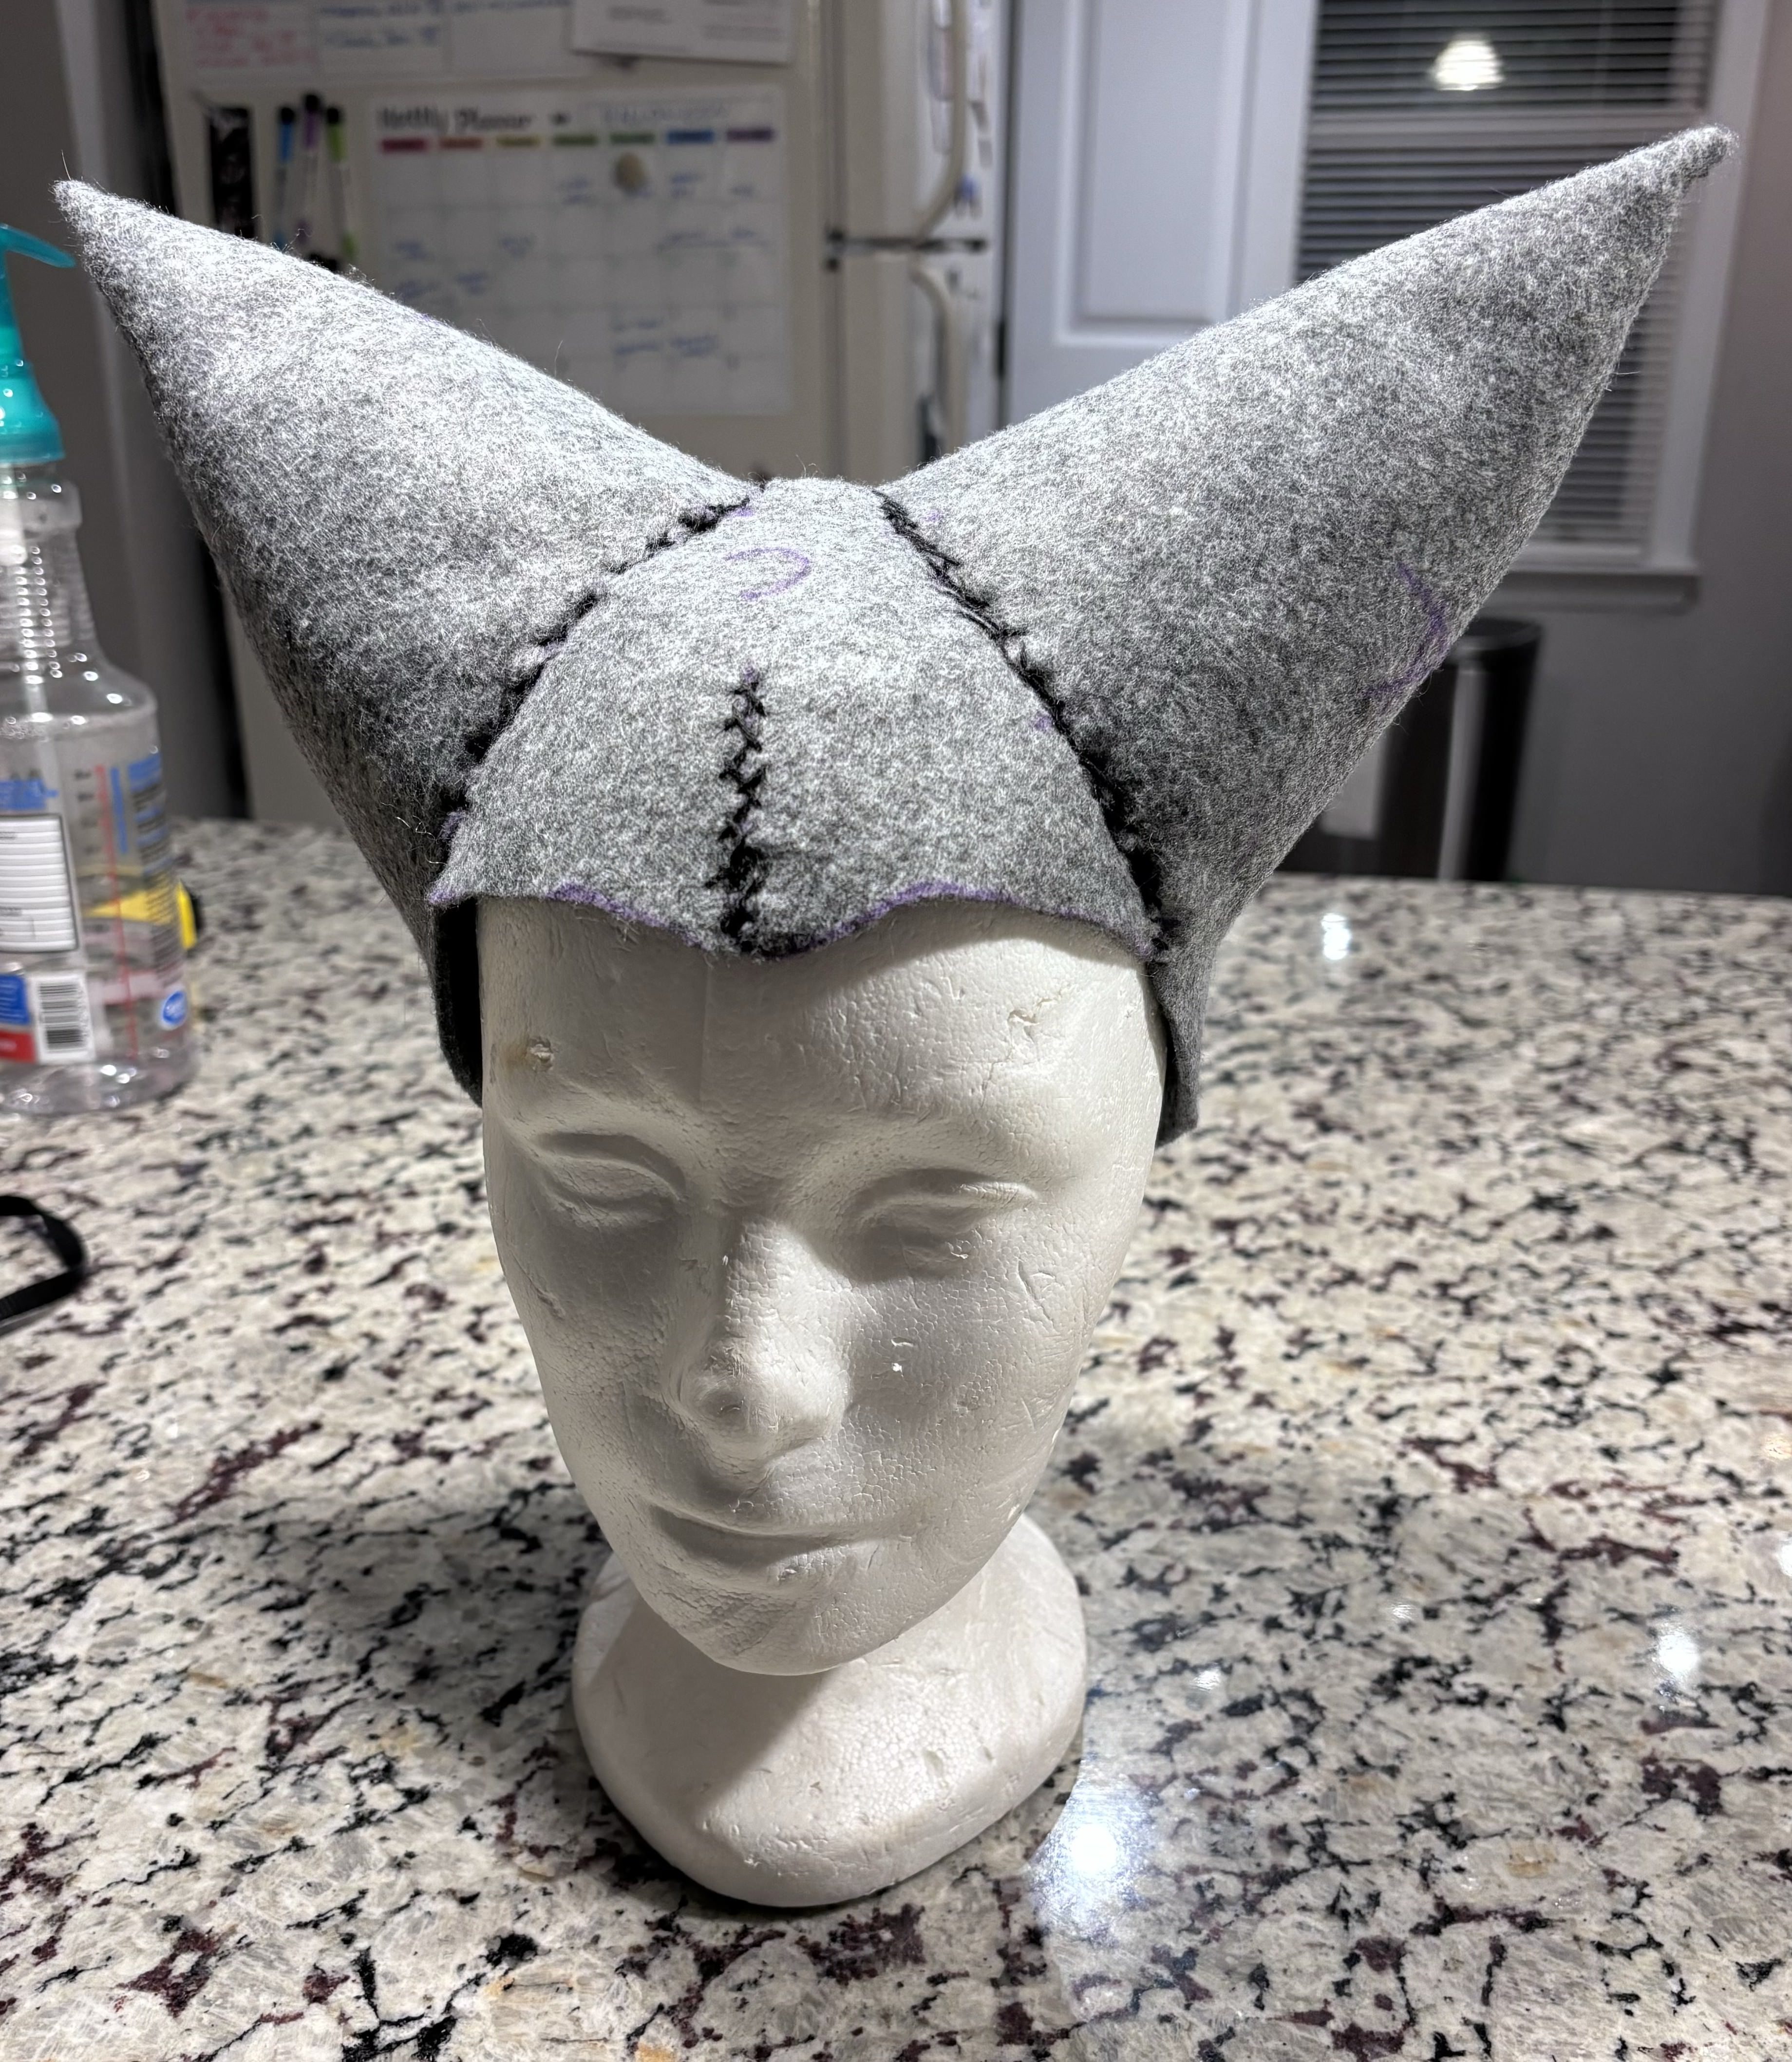
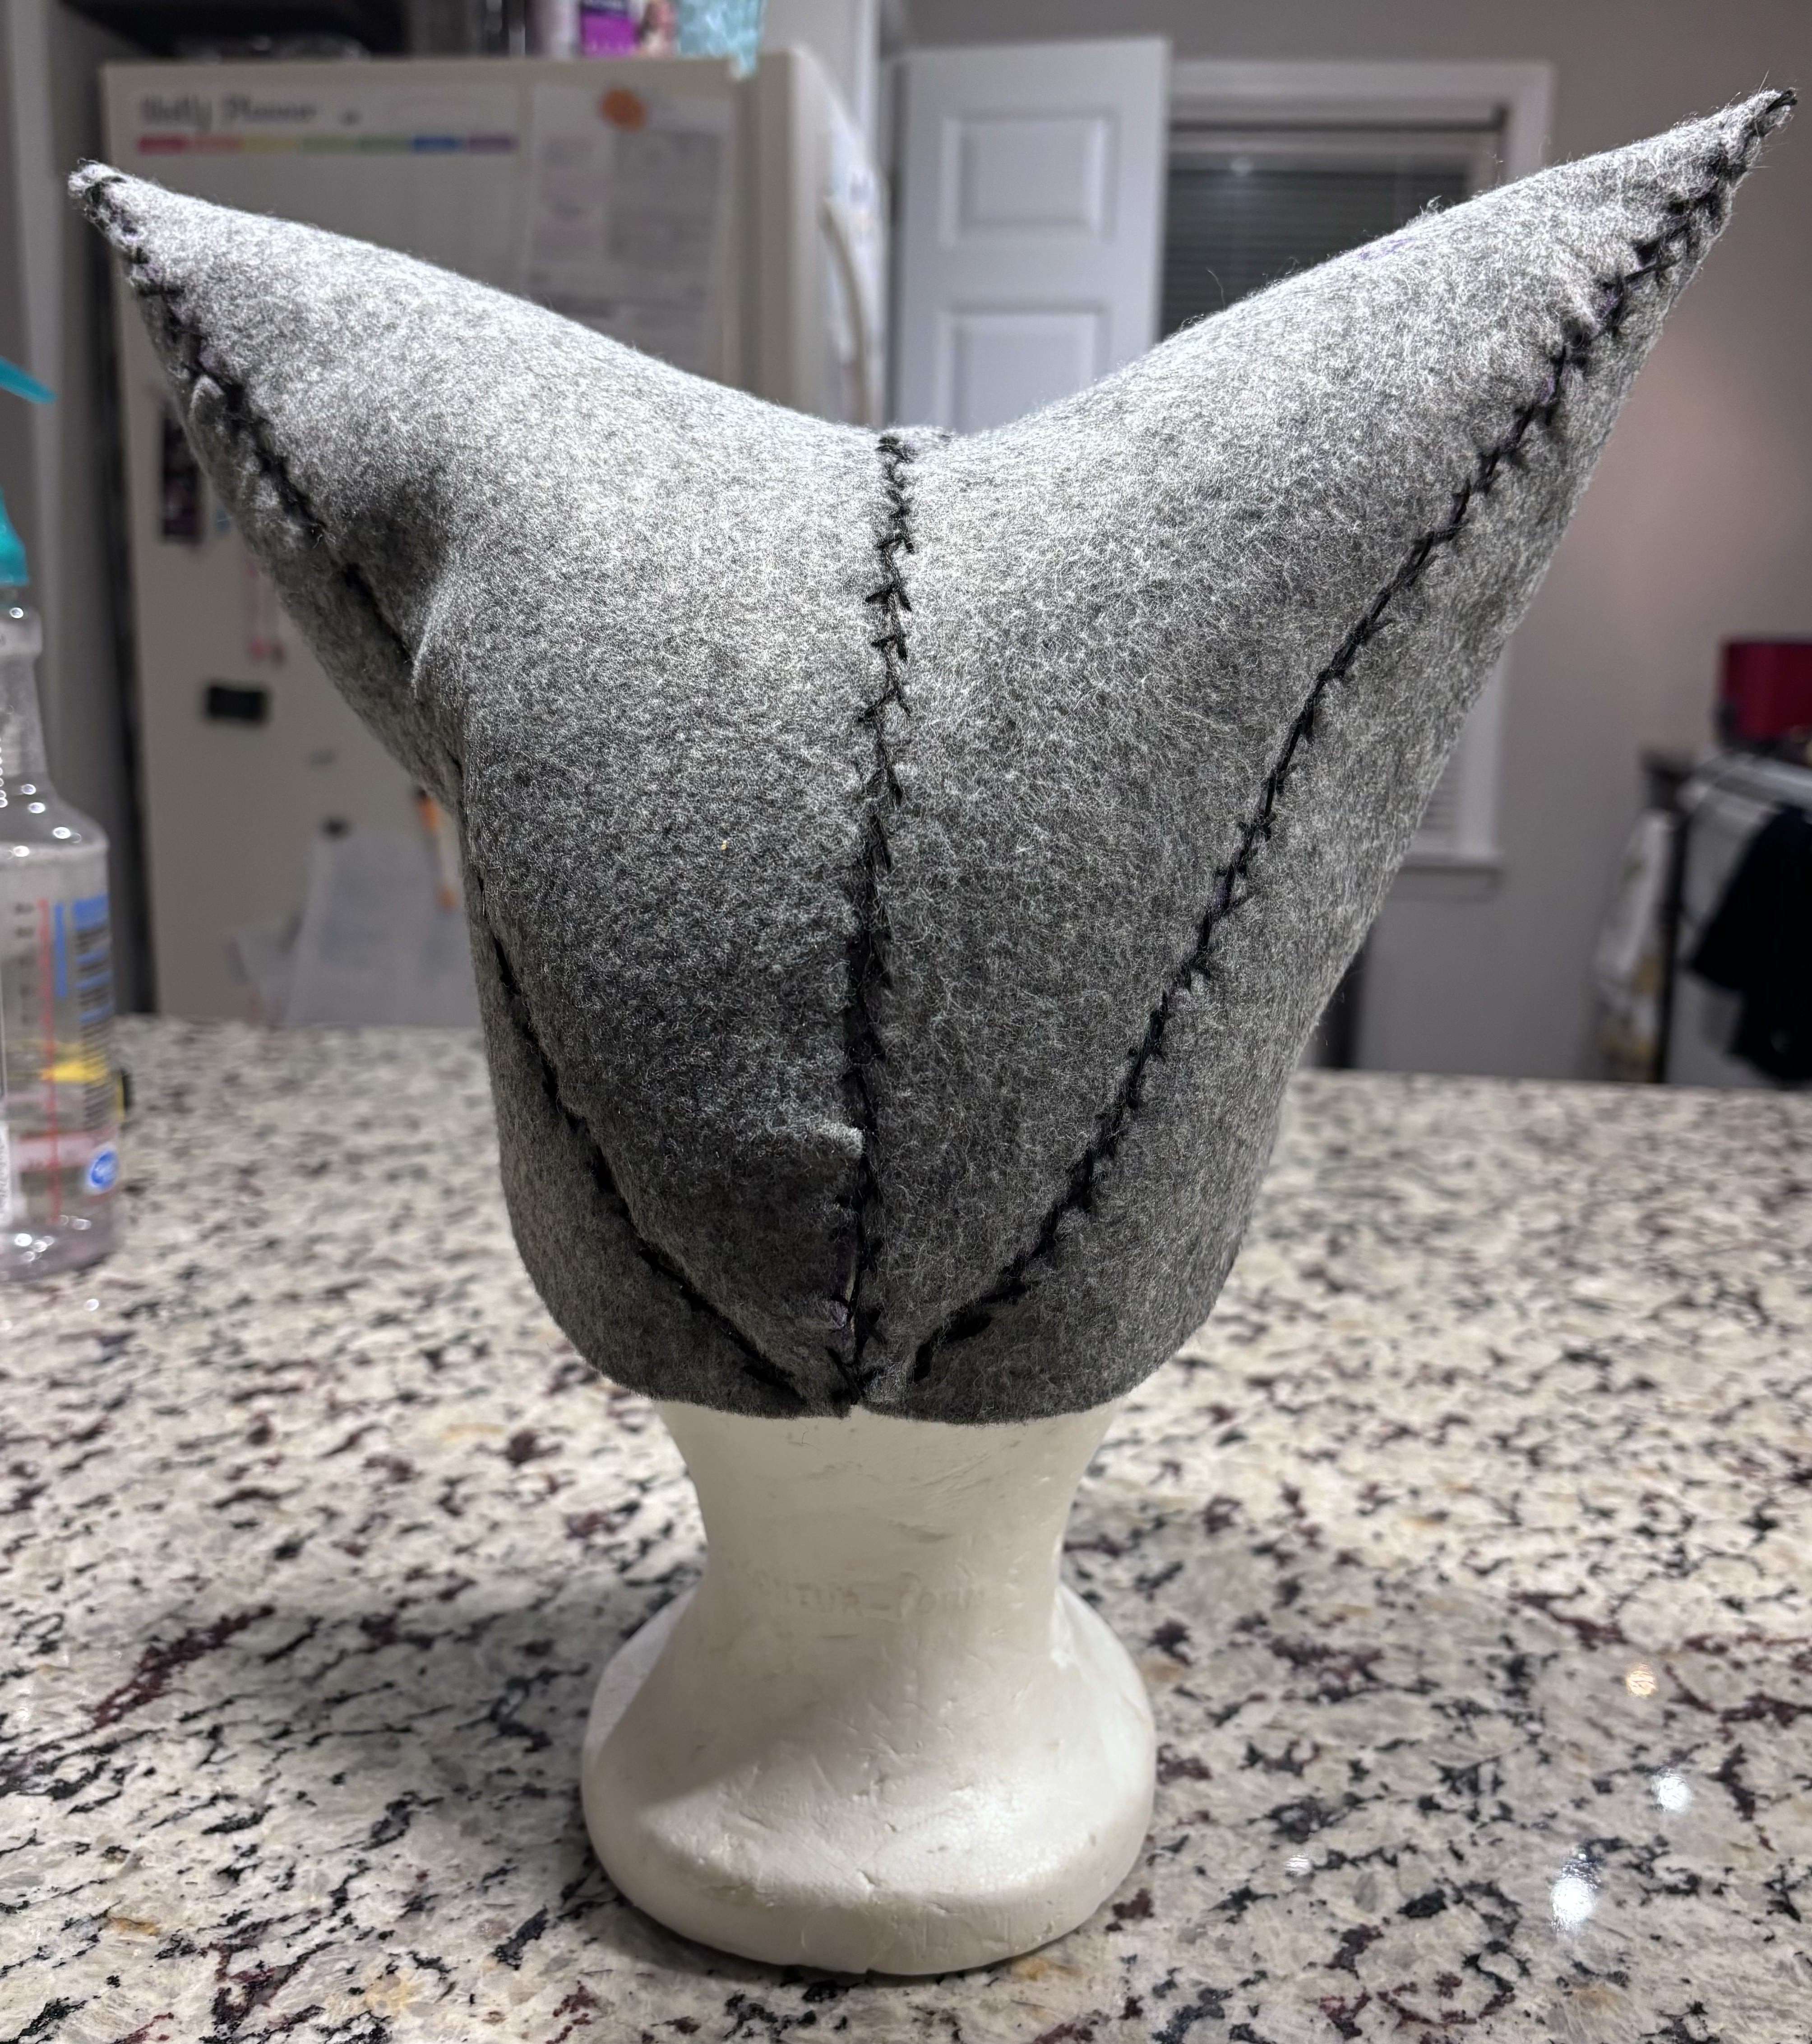
Fit check! I was pretty nervous that I'd have to redo the pattern and make the hat bigger, but she was a perfect fit!!

Now, time for the fun part: DECORATIONS!!!
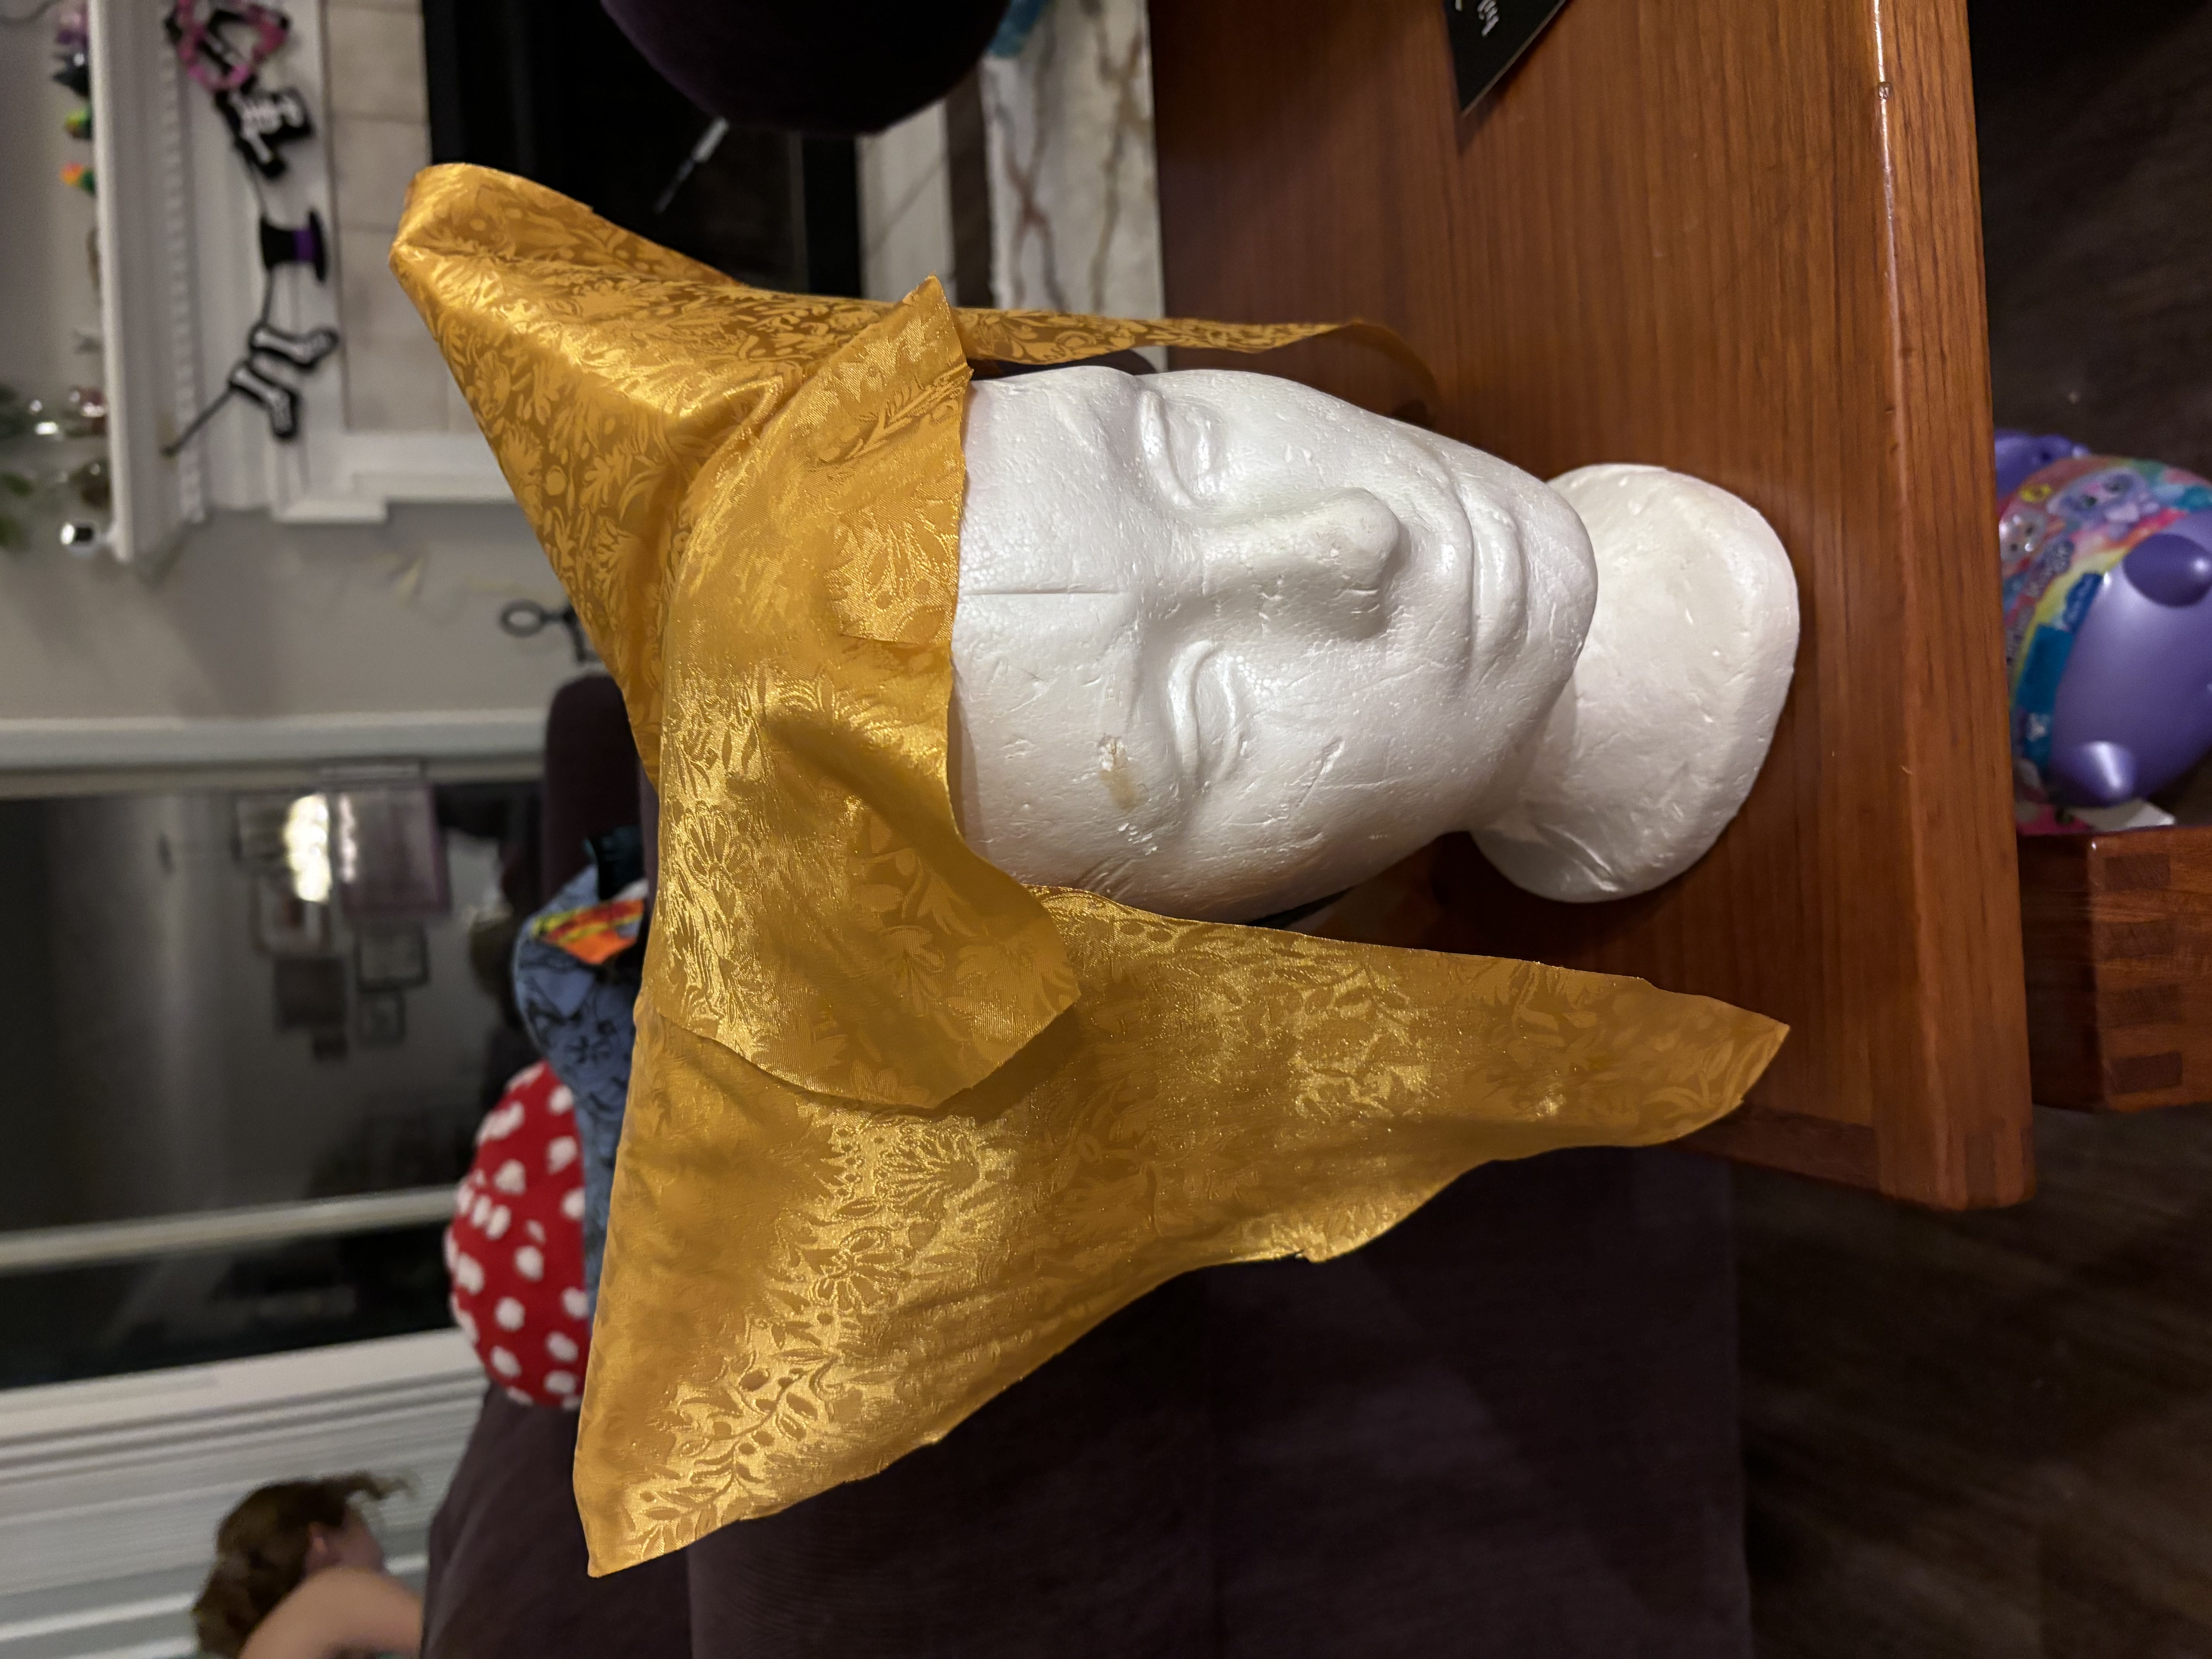
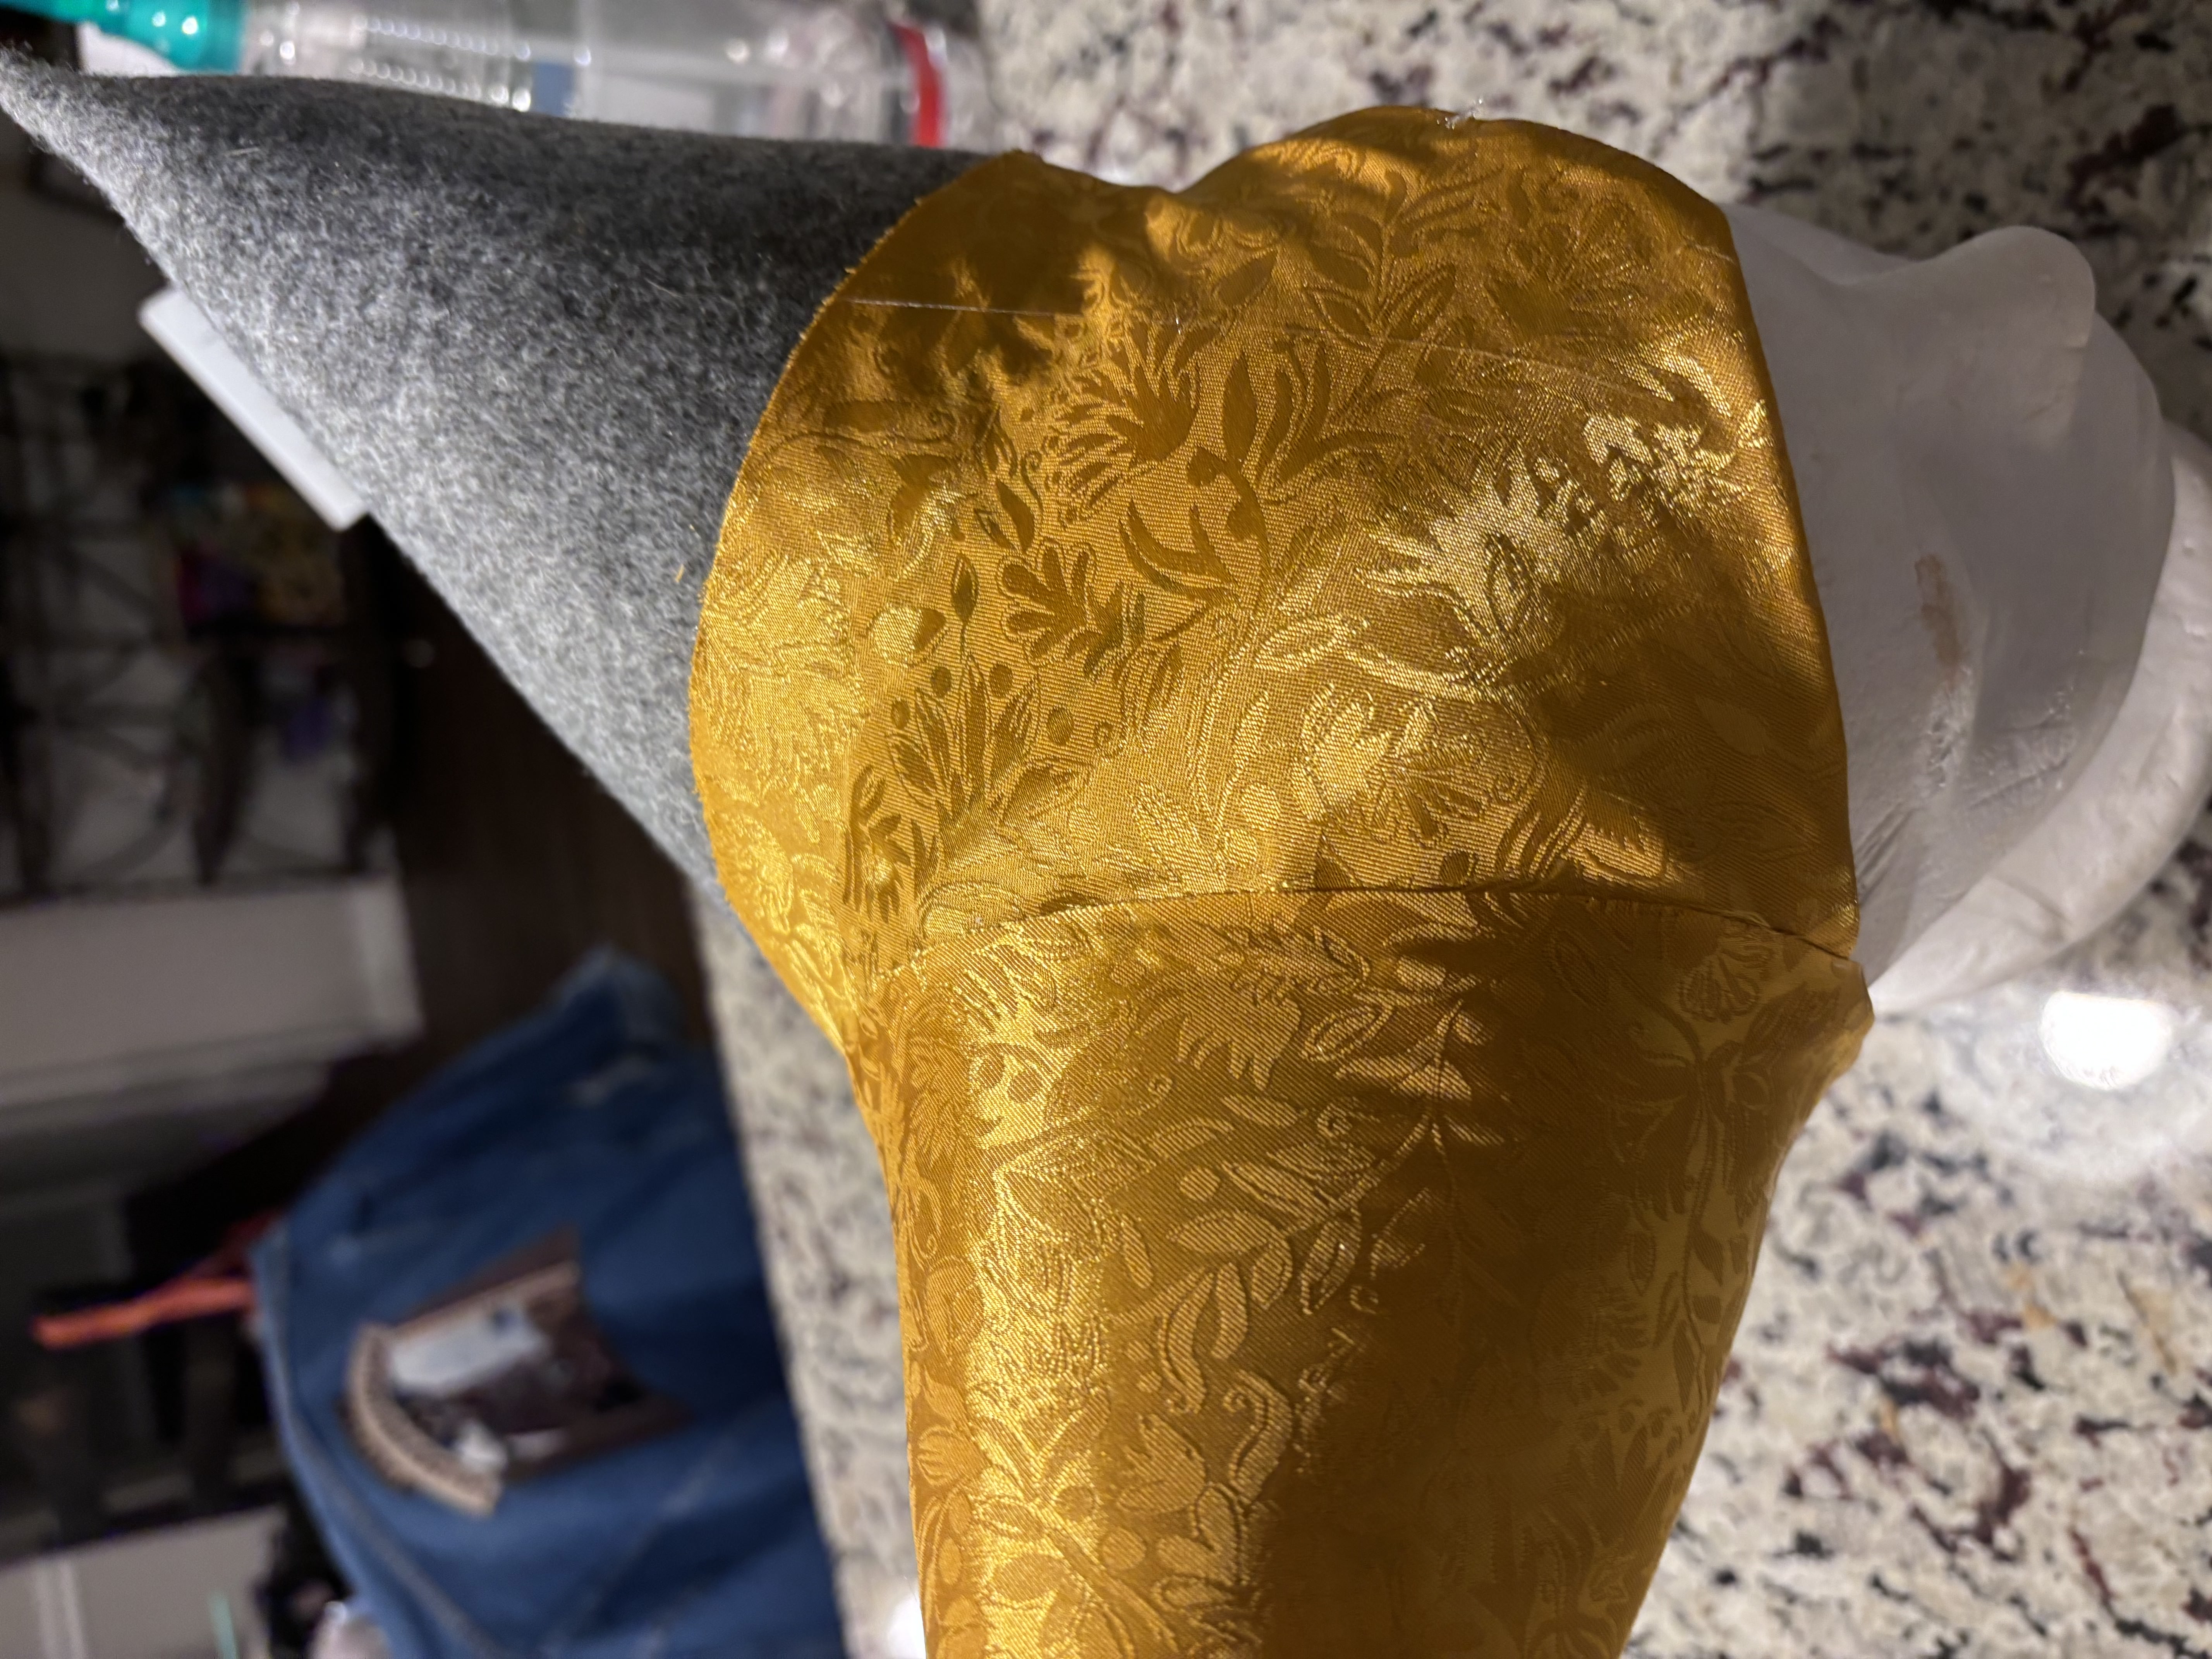
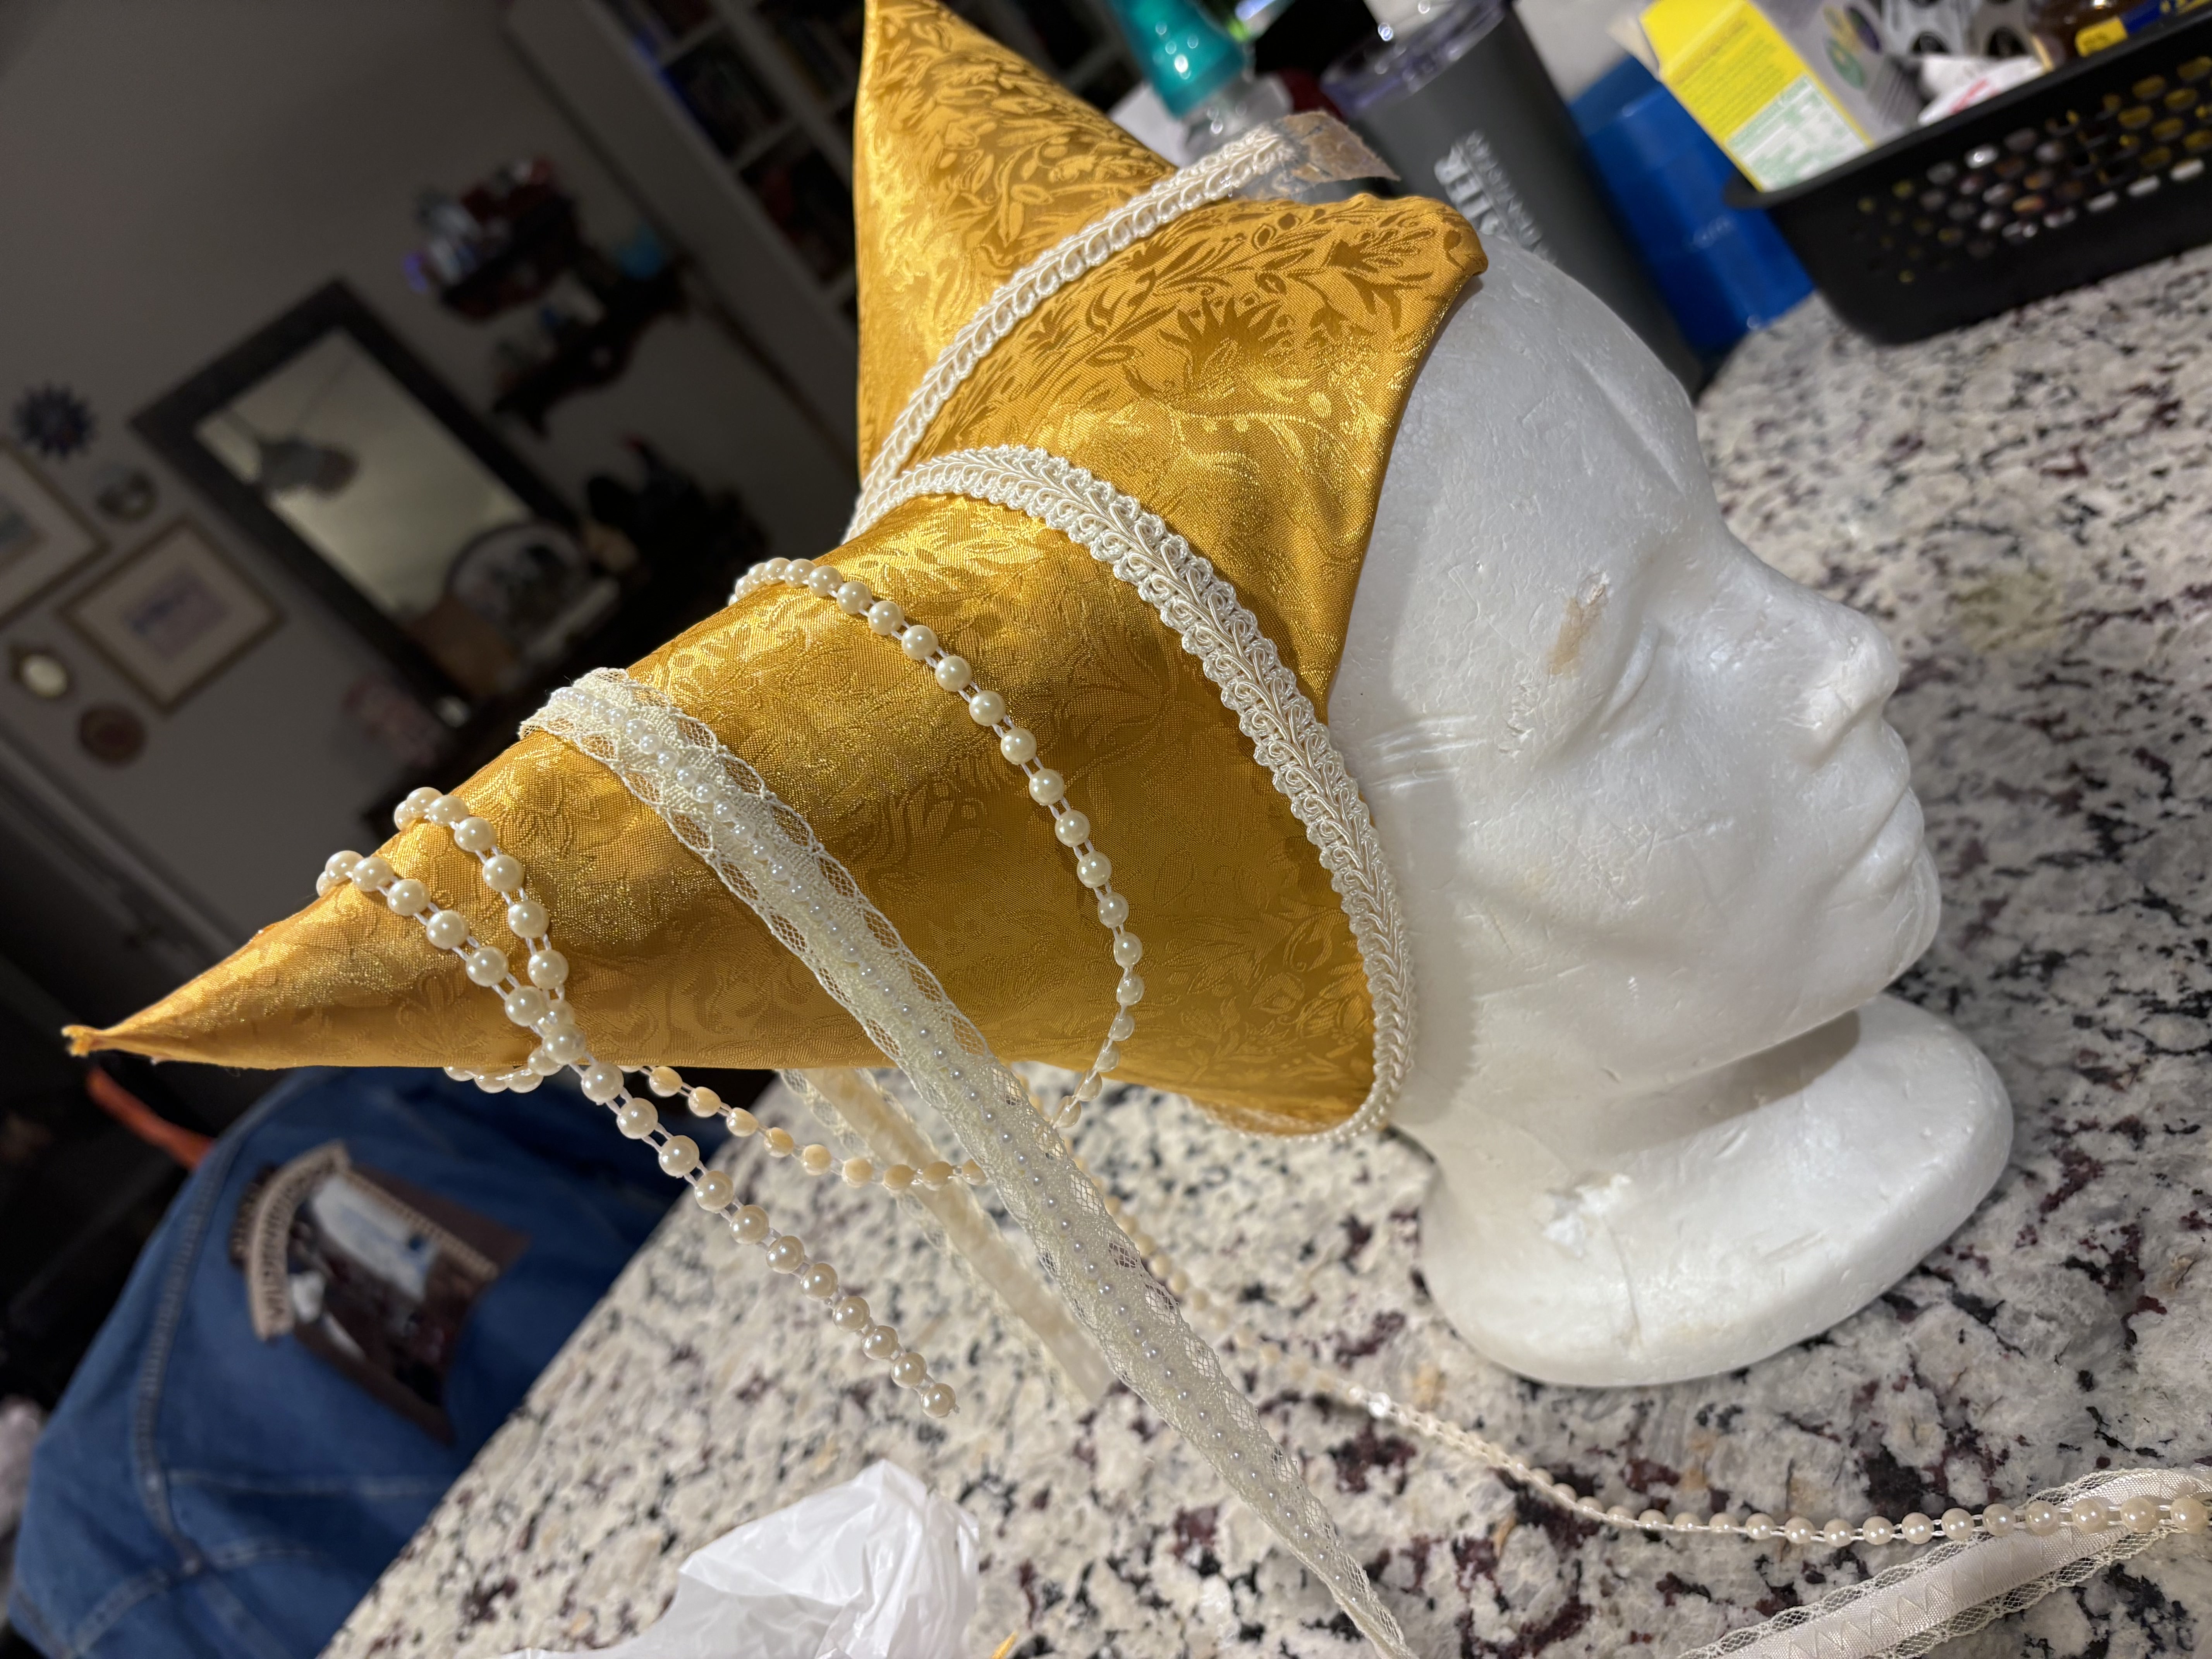
I had a hell of a time finding fabric that I wanted. Initally I was going to go for a red patterned fabric with gold accents, but after three different stops at stores I settled on this gorgeous yellow fabric. It had a beautful subtle pattern that I knew would look awesome in the light. To accent, I got some white lace ribbon to hide the seams around the cones & then some strands of pearls.
I just used hot glue to attach everything down, nothing fancy.
All the sudden... BOOM! THE HAT WAS SLAYING.

The last step was simple. Initally I wanted the veil to be more of see-through material, about again, I was frusturated with what I found. Eventually I settled on this light white fabric with a gold pattern. I think it looks really good with the cones!

I grabbed a large pendant to use as a focal point (see me testing it above), cut the veil & hemmed the edges, stuffed the cones with a bit of pollyfill, and I was done!!!
HENNIN MISSION: totaly success. This was so much fucking fun. I love this hat!!!!


(me slaying with my hat at ren)